Thursday, December 20, 2018

Gingerbread Brittle

Gingerbread Brittle is a sweet, spicy, melt in your mouth confection perfect for sharing with Santa... Or keeping all to yourself!


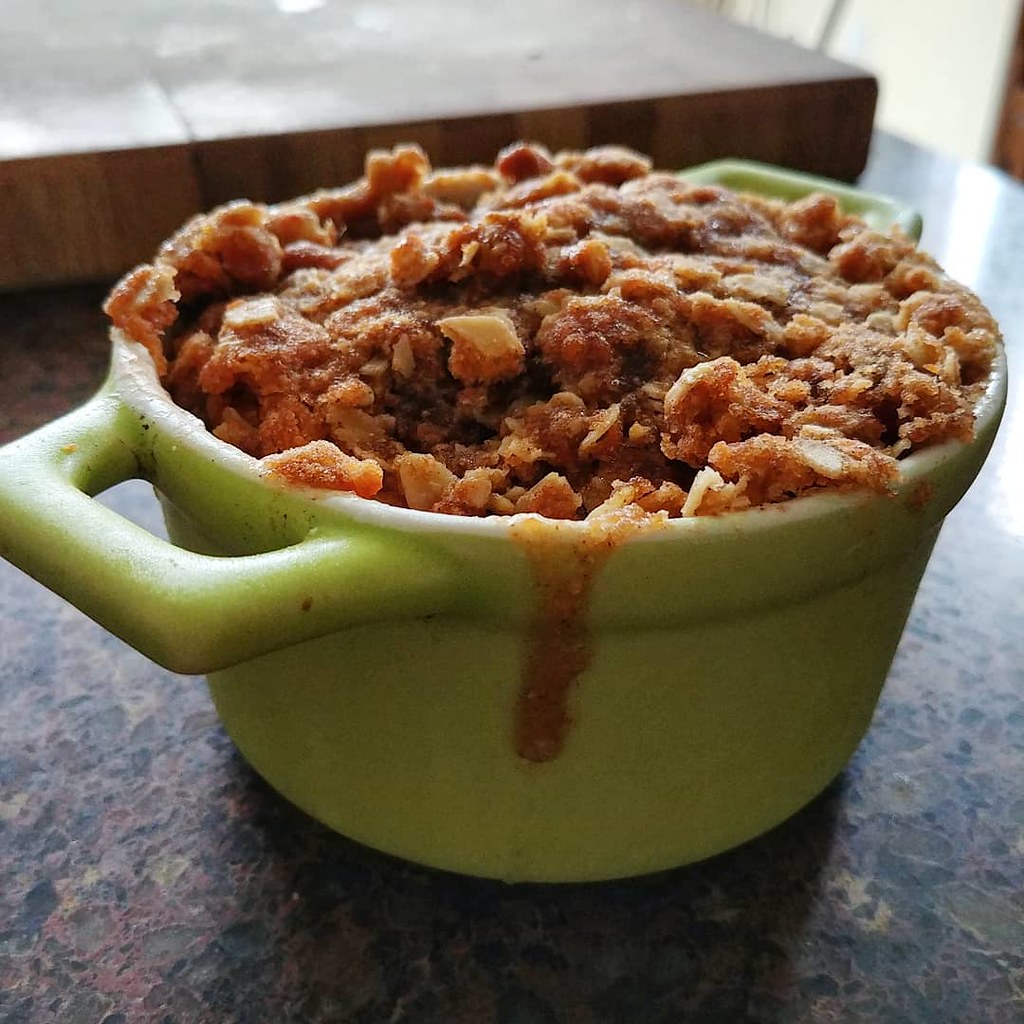
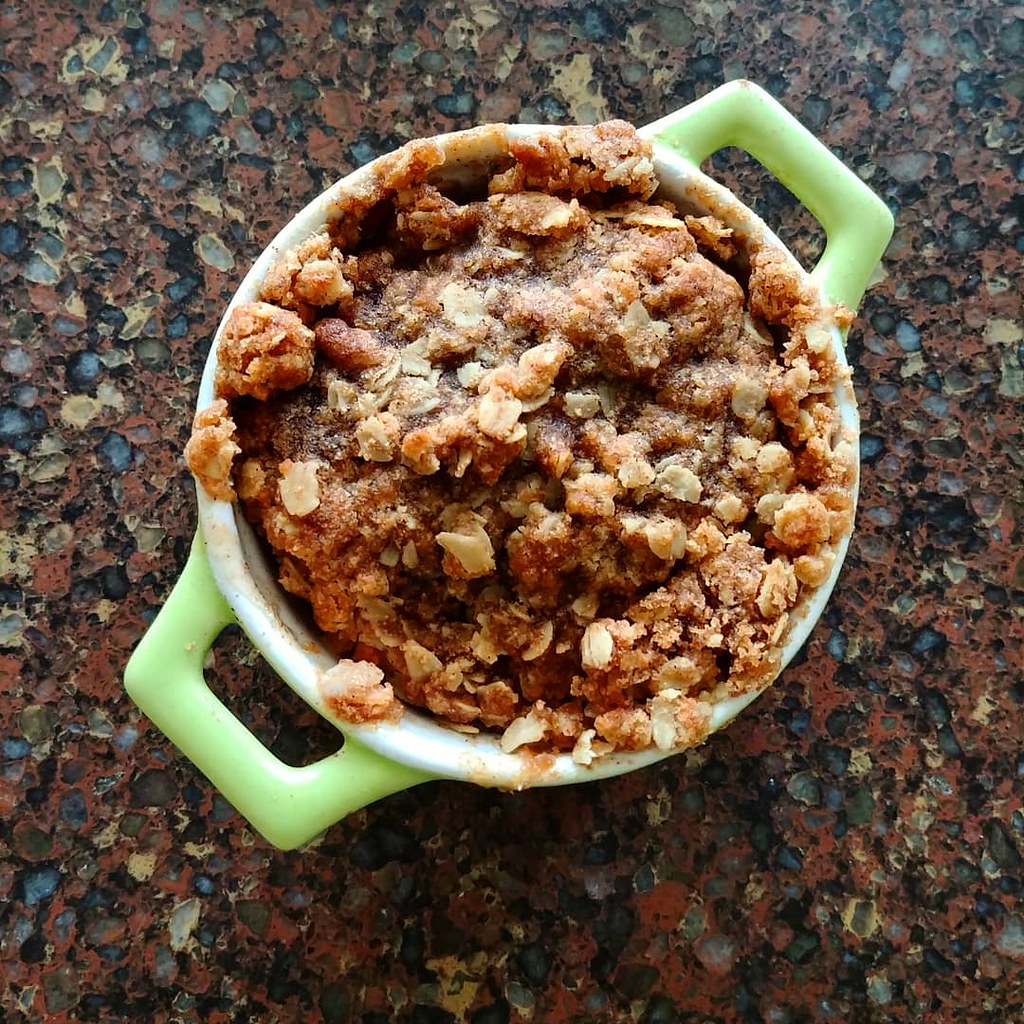
When it comes to the finishing touches on my gift baskets every Christmas, I always make sure to include some sort of candy. Some years, I've made as many as 8 different types - from licorice caramels to lemon drops - but since time and space was at a premium, and my giftee list was slightly smaller, I stuck to just a few this time around. Usually, I'm not a huge fan of toffees and brittles - they're too sweet and cloying for my taste, and frankly I'd much rather have a sour key or square of dark chocolate. However, other people seem to love them, and who am I to deny the people of what they want?

This year, I found probably the best option to cover both bases - Gingerbread Brittle. While it is still, undeniably, candy, it is swirled through with a medley of warm, rich spices and has a hint of classic gingerbread bitterness from the molasses as well. Since I used a high-fat European style butter, the brittle had a sheen and almost butterscotchy note too, the best of all worlds! Perfect for last minute gifts or a dessert potluck, it cooks up in a flash (mine was done and cooling in under 10 minutes) and makes enough for a crowd or for wrapping in little plastic bags. As with any sponge toffee or brittle, this uses baking soda to help give it an airy, melt-in-your-mouth texture, and frankly it's my favourite part of the whole brittle making process (hearkening back to the days of baking soda and vinegar volcanoes). After cooling for a few hours, the whole slab looked like textured marble, and it broke up neatly into pieces.


The tiny bit I was able to taste was heavenly - think a lighter, spicier Werthers - and those who received it waxed poetic on it's taste as well. I've even given out the recipe a few times, so now I'm sharing it with you!

Tuesday, December 18, 2018

Carrot Cake Biscotti #CreativeCookieExchange

Season's Greetings! Now that we're in the home stretch before the hullaballoo that is Christmas Day, I've been spending days and days packaging up all my gift boxes for friends and family. Of course, being part of a stepfamily that is born and bred Italian, one of the cookies that always finds it's way into the arsenal is biscotti. Like years before, I try to make a variety of more "unusual" flavours, and one of them is an echo of one of my favourite desserts - carrot cake!

The original recipe comes from Colleen of Souffle Bombay - and I must default to her should you be searching for photos of the finished cookies, as I packaged mine up  before remembering to take a photo! However, I can vouch that they look - and smell - fantastic and very much like their namesake. I did make a few changes to the original so that all my guests could enjoy them - namely making the cookies nut free and vegan - but you'd never be able to tell. The chopped raisins add a delicate, fruity sweetness less intense than dates, while the whole wheat flour and oats add a hint of nuttiness that blends perfectly with the spices. Aquafaba (chickpea brine) replaced the eggs and canola oil stood in for the butter, making the batter delicious (and taste-testable!). In place of a glaze or icing (because let's face it I'd never remember to do that) I topped the logs with coarse sugar before baking, lending them a subtle crunch and crust.

Of course, one of the great things about biscotti - any biscotti - is that it lasts a good long while in a tin or sealed bag. The rest of the #CreativeCookieExcange group this month has also come up with some ingenious bake now, serve later options for the holiday tables that I plan on trying out in the new year, since there is always a good reason for cookies!

The #CreativeCookieExchange is baking Cookies That Last in a Tin this month, and we’d love for you to join us!


You can also use us as a great resource for cookie recipes. Be sure to check out our Pinterest Board and our monthly posts (you can find all of them here at The Spiced Life). You will be able to find them the first Tuesday after the 15th of each month! If you are a blogger and want to join in the fun, contact Laura at thespicedlife AT gmail DOT com and she will get you added to our Facebook group, where we discuss our cookies and share links.

Almond Flour Sugar Cookies from A Baker's House
Carrot Cake Biscotti from What Smells so Good?
Cinnamon Chocolate Shortbread from Food Lust People Love
Mexican Chocolate Cookies from Karen's Kitchen Stories
Oatmeal Lace Cookies from The Spiced Life

Monday, December 17, 2018

Orange, Carrot and Rhubarb Preserve

Orange Rhubarb and Carrot Preserve tastes almost like the plum sauce you find in restaurants but with a hint of earthy flavour from homegrown carrots.


While I may not have been up to the usual glut of preserving this year, I did pull in an impressive haul of both rhubarb and carrots. Since there are few recipes that use a ton of either ingredient, I had to do some extra scouting, and what I found I couldn't have been happier with! The original recipe from my old church cookbook called this an "Orange Rhubarb Jam" but the consistency and taste weren't quite what I would call "toast toppable". Instead, what the concoction reminded me of most was a slightly winter-spiced plum sauce. Thick enough to stick onto potstickers, samosas or chicken fingers, thin enough to mix into a stir fry, it's sweet, sour, and just a touch earthy. In fact, the un-canned jars of this combination found their way into all sorts of savoury meals, both as an ingredient and as a condiment.

Whatever you call it, it's definitely a unique addition to the holiday table, and one I would feel 100% comfortable pairing with roasted veggies (like carrots! Or Brussels sprouts) as well as the main meat or protein (this is awesome over baked tofu too). Most importantly, it helped me use up my haul of heirloom carrots and rhubarb before they went bad in a way that didn't take up freezer space - after all, we had to shove a 15 lb turkey in there somehow in with all the other day-to-day items!

Monday, November 26, 2018

Mashed Potato Bread

This soft, sweet Potato Bread is brioche-rich and makes both great sandwiches (hello, PB&J!) and simple toast. Sesame seeds on top add an optional but decadent crunch!


Now that we're in the home stretch of the year, our fridge and freezer space has become premium real estate. While cleaning out one of the shelves of our deep freezer, I stumbled on a plastic container of mashed potatoes from our (Canadian) Thanksgiving that I had set aside for baking after the success of my Chocolate Mashed Potato Cake. Turns out I saved way more than I thought, and with the holidays approaching there is no space or need for 5 chocolate cakes lying about!

However, the need for bread at my house is constant. I did a quick Pinterest search and landed on this recipe on Num's the Word. The original bread was white and looked airy and fluffy with a crumb perfect for holding onto a Toast Topper, but my mom prefers her starches whole grain so I swapped the all-purpose flour for whole wheat bread flour. This bread is sweet and almost brioche-like, and I wanted to compliment this flavour (and the nuttiness of whole wheat) with a topping of sesame seeds. The seeds added a delicious crunch as well! I was extremely glad that I doubled the batch, since the leftovers freeze beautifully and my mom couldn't get enough of it. In fact, this recipe (made into rolls) was nominated by my family as the bread dish for our annual Christmas Eve party! I'm sure I'll have plenty of leftover potatoes in the New Year to play with as well, I can't wait to try a few variations like stuffing it with dried fruit, swirling in some jam or even making the bread more savoury with less sugar and some herbs like thyme, rosemary or dill!

When do you usually eat bread? With us it's either a lazy weekend breakfast or alongside a soup or salad with lunch. Comment below!


Sunday, November 4, 2018

Chocolate Mashed Potato Cake

This lovely Bundt cake is made with an unusually moist and tender ingredient: potatoes! Buttermilk, butter and melted chocolate up the flavour even more.


Since we're in between Thanksgivings here in North America (Canada's was back at the beginning of October) I thought I'd share a couple ways to make use of the one thing we always have leftovers of - mashed potatoes. We don't eat a lot of potatoes in my family day-to-day - most often time determines pasta is the starch of choice - but on special occasions we can be guaranteed to mash up a good couple of pounds of them. Not all the potatoes we mash are used right away, some we pack away for the next day where we twice bake them mixed with cheese and herbs (yum). However, this past Thanksgiving saw the beginning of a period of much personal craziness in our lives so the potatoes found themselves in the freezer.

Apparently, mashed potatoes are supposed to freeze fine. Well, say what you like internet sources, but what I thawed out was not the pillowy plain goodness I was hoping for. However, the potatoes still had a double use, for breakfast and dessert. Since dessert comes first, so does this cake! I found the basic recipe on Food52, and while I kept the ingredients (mostly) the same I reverted to the traditional cream - dry - wet - dry method of mixing rather than the reverse creaming in the original. Making sure to beat the batter smooth with electric beaters (I'm not strong enough with just a spatula) was crucial for the texture, which was velvety and moist without being damp like some other cakes can be. In fact, it was flavourful and rich enough to serve without adornment (although a dusting of icing sugar or a drizzle of chocolate (or cherry) sauce wouldn't be out of place) and disappeared in the staff room, even when the school is filled with all us sickies!


Monday, October 29, 2018

Whole Wheat Hokkaido Milk Bread and #TheGivingPlate

Hokkaido Milk Bread is given a whole wheat twist in this recipe, which stays incredibly soft and moist thanks to lots of cream, milk and eggs!

IMG_20181029_175146_573

I love making bread, and it's no secret that I love trying new recipes almost every time I bake it. I've always been tantalized by Hokkaido style bread because of it's impossibly soft and tender texture, but the effort that goes into making the tangzhong (not much I know) just put me off of it. Bread making tome is supposed to be cathartic and by feel, not fussy about temperatures. Anyways, I finally came across a straight-dough Hokkaido bread that maintains it's super-soft texture thanks to a multitude of cream and milk, and decided to adapt it to a whole wheat version since that's what we eat around here!

In addition to boosting the fibre (and flavour) of my loaves with whole wheat flour,  I also filled each of the "rolls" in the loaf with sesame seeds for added crunch! What dough I had left over (it made just a bit too much for my loaf pans) I filled with cinnamon and sugar instead of sesame seeds for a sweet treat. Like everything I bake, the rolls are perfect sharing, and to pass them on I used a lovely "giving plate" that I received from the people at Precious Moments.

The script on the plate is gorgeous and is a lovely poem in itself:

“Celebrate life’s precious moments with FAMILY and FRIENDS
Enjoy the gifts on this plate and the LOVE it sends
To make sure the GIVING never ends
Fill it up pass it on and watch how JOY transcends!”

In addition, the slightly beveled edge keeps treats on the plate without unduly tilting them, which is great for frosted cupcakes or round items like truffles. On the back is an inscription detailing how the plate is helping the community (see below). It would make a wonderful housewarming or hostess gift and is meant to be passed from person to person. I'm looking forward to seeing where this plate travels to!

From Precious Moments:
This year, with the Precious Moments Giving Plate, start a new holiday tradition that will last for many years to come. A giving plate is filled with goodies and given as a gift to a friend or family member. But this is just the start of the journey because the recipient then refills the plate and gives it to yet another friend. As the plate travels from home to home between family and friends, blessings are shared again and again. In a way, the beautiful journey of a giving plate never really ends.

Along with the heartwarming feelings inspired by the giving plate, the pure joy of charitable giving will inspire your loved ones each and every time they exchange this beautiful gift. From July 15, 2018 through December 31, 2020, Precious Moments will donate 5% of the sales price of each Giving Plate to Feed the Children. These donations are used to help eradicate childhood hunger and create a healthy foundation for children and families to break the cycle of poverty.
Find the Giving Plate here

IMG_20181029_175938_379

Saturday, October 20, 2018

Guest Post #infographic: Gluten Free Halloween Candy for 2018

With Halloween coming up quickly, and candy sales rampant in almost every store you walk into, navigating the holiday with food allergies, intolerances or other restrictions can be tough. For kids going trick-or-treating, restricted diets often result in their haul being carted away and replaced with home-made or "safe" snacks. However, for those with celiac or who are gluten free for other reasons, there are many options available! The kind folks at Dentably Magazine sent me this infographic, updated for 2018, featuring the gluten-free-friendly treats you can enjoy worry-free this Halloween.


This is a sponsored post.

Monday, October 8, 2018

Apple Crisp for One

Apple Crisp for One is buttery, sweet and full of apple-y goodness, all while being gluten free!


Happy Canadian Thanksgiving to everyone! While today I am deliberately doing no cooking (the kitchen has been usurped in favour of turkey / stuffing / potatoes, etc), I did have a chance to whip up a few little Thanksgiving-y desserts. The first round of baking featured mini-versions of my "famous" apple butter pumpkin pie - one for yesterday's feast with Dad, the other for my boyfriend's mom. Now, I'm really not a fan of pumpkin pie at all (yeah yeah, I know), my mom's apple pie has always been the perfect ending to fall dinners. She doesn't add sugar, uses a simple, shortening-based crust, and packs each pie with as many apples as she can fit. 

That said, while tonight will feature mom's signature pie, not everyone is a fan of the dessert. The boyfriend (A) is one person who doesn't enjoy pie crust, and loves his fillings sticky-sweet. So, instead of leaving him dessert-less this holiday, yesterday I whipped up an apple crisp perfect for one, fitting neatly into a little stoneware ramekin. While the methodology of crisp-making remained the same, I added a few little flairs of my own. First, since A is lactose intolerant, I used a fantastic lactose free butter I found - it tasted like European style cultured butter but wasn't labeled as such. The second thing I did was to change up the filling a bit. Instead of your standard sugar-flour combination, I used honey, cornstarch, a pinch of nutmeg and a dash of vanilla. Finally, I bumped up the protein in the "crisp" portion by swapping out the all-purpose flour for red lentil flour that I had ground in my Mockmill - it adds no taste, but adds a lovely colour and extra nutrition.

Apple Crisp for One

At any rate, this apple crisp is a satisfying, early-fall comfort food that not only is perfect for Thanksgiving dessert but even a decadent breakfast! What is your favourite fall dessert? Comment below!

Friday, September 28, 2018

Homemade Banana-Oatmeal Meal Replacement Shake

Sometimes we just don’t have the time to prepare a healthy breakfast or lunch. We could grab a snack and go but within an hour, those hunger cravings are sure to pop up. Furthermore, if it’s a processed snack, chances are you’re just taking in a bunch of empty calories or excess sodium and saturated fats.

Meal replacement shakes pack all the nutrition you need for an energetic day, but they are drinkable, quick, tasty AND they keep you full for hours!

The following is an example of a nutritious and easy to make meal replacement shake, including why it’s so great for keeping hunger cravings at bay.


Thursday, September 27, 2018

Beetroot Cranberry Conserve

Beetroot Cranberry Conserve is tangy, sweet and slightly earthy, not to mention a brilliant colour! A nice Chianti makes it a little savoury, perfect for the holidays.


Beetroot & Cranberry Conserve

It's almost Thanksgiving weekend here in Canada - where the heck did September go? While my mom is stocking up on turkey, stale bread, potatoes and lots of butter, I took on the task of making one of the cult favourite condiments on every holiday table - cranberry sauce.

What emerged from my kitchen last year - and soon to be this year as well - is a delicious sweet-tangy conserve with a hint of savoury flavour, but I do hesitate to really call it a cranberry sauce. For one, the only cranberries in this recipe are dried (although they were unsweetened) - the brilliant ruby colour is the result of heirloom beets from my garden and a glug or two of red wine. For added body and cohesion, I used apples (of which we always have a ton of this time of year). Of course, many of the standard "holiday" seasonings found their way into the pot, including the zest and juice of a blood orange. Taste tests along the way were quite rewarding, and leftovers that didn't fit in either the canning jars or the sauce bowl were eaten by house guests on crackers with cheese.

Speaking of canning, I highly recommend making at least this one batch, if not two, and preserving half for Christmas season. That way, you have a side dish done and you don't need to take up another stove burner in the middle of holiday feast-making!

Beetroot Cranberry Conserve
Makes 32 fl oz, 32 (2 tbsp) servings
3 apples, peeled and diced
1 lb (about 5 small) beets, peeled and diced
¾ cup dried cranberries (preferably unsweetened)
¾ cup sugar
¾ cup red wine (or cranberry juice for non-alcoholic)
Zest and juice of 1 large orange (I used a blood orange)
¼ tsp nutmeg
Pinch cloves
Pinch sea salt
  1. Combine all the ingredients in a deep, heavy saucepan over medium heat.
  2. Bring to a boil, then reduce heat and simmer until thick and mounds on a spoon, about 1 hour.
  3. Can 15 mins in a waterbath or freeze leftovers within 1 week.
Amount Per Serving
Calories: 50.4
Total Fat: 0.1 g
Cholesterol: 0.0 mg
Sodium: 11.3 mg
Total Carbs: 12.0 g
Dietary Fiber: 1.2 g
Protein: 0.3 g

Wednesday, September 26, 2018

Sweet Potato Peanut Curry with Red Lentils

This Sweet Potato Peanut Curry with Red Lentils is packed with vegan nutrition - vitamin A, protein, fibre and healthy fats to name a few!

Sweet Potato Peanut Curry with Red Lentils

With the cooler weather rearing it's (quite ugly and damp) head, it's time to start thinking about stick-to-your-ribs comfort food. Around here, that means breaking out the big Dutch oven and making a big pot of flavourful stew. Of course, with my mom around, curry is almost a no-brainer when it comes to the type of stew! This pot was inspired from a dish I saw on TV (can't remember the show, sorry!) using sweet potatoes and tomato juice with regular lentils. However, my mom likes peanut butter with anything spicy, so I added a dose to the pot and used fresh tomatoes, celery and home-grown Egyptian onion to bulk it up some more. The resulting mixture is spicy, but not hot, with a light earthy sweetness from the sweet potatoes and a natural creaminess from the red lentils. A squeeze of lime at the very end livens up all the flavours and makes it a perfect meal to warm you up when it's anything but outside.

Tuesday, September 25, 2018

How to Have a Filling Brunch


When you look at the brunch menu in some of the best restaurants in NoMad, you might be initially disappointed thinking that they are only light meals. For heavy-eaters, they might feel as if they are just appetizers. With this, in the rest of this post, we will quickly share some insights on what you should eat to have a filling brunch! 

Avocado Toast

I have tasted a lot of avocado toasts in the past, but none has been as mouthwatering as what I had in Scarpetta, an Italian restaurant in NYC. From the way it looks, you can easily say that it will indeed be filling. To make it even more flavorful, it comes with Aleppo pepper, onions, and lemon. The avocado on the top tastes so fresh! It is perfect in every bite!

Deviled Eggs

Another quintessential brunch item, deviled eggs are sure to make a filling meal. If you think that eggs are boring, having them deviled is an excellent way to add life to it through hot condiments or spices. One pair of deviled eggs can be a source of up to six grams of protein, which also explains why it can easily fill up your tummy!

Salads

For healthy eaters, brunch will not be complete without a salad. A bowl of greens will be an excellent way to start any meal. It already fills up the stomach without the need to worry about the calories. Of course, this is provided that the salad has the right ingredients. Some of the must-haves for a delicious brunch salad include tomato, avocado, lettuce, olives, croutons, spinach, kale, and cucumber, among others. Make sure to pair it up with healthy salad dressings, which include mango vinaigrette, Greek dressing, and raspberry balsamic.

Pancakes

A stack of pancakes with delicious toppings will be another essential to make your brunch filling. Stay away from artificial sweeteners. Honey or pure maple syrup will be great alternatives to those that are laden with sugar. As for the toppings, opt for fruits and get rid of creams. Blueberries, apples, and pears will be great. If you feel like giving yourself a cheat from your strict diet, greasy strips of bacon will surely be a treat!

Yogurt

Something a simple as yogurt can be filling, making it another great choice for a brunch. If plain yogurt seems to be too simple and bland for you, make it a parfait! Top it with ingredients that can make you even feel fuller, such as chia seeds, banana, apple, mango, and berry.

Smoothies

If you cannot eat your fruits and vegetables, drink them in the form of a smoothie. This is especially great for the kids! The key here is to choose the right ingredients. Otherwise, the smoothie will be nothing but empty calories. For a mouthwatering smoothie that will also make you feel full, some of the best ingredients to use include banana, strawberry, mango, blueberry, and cucumber.

With the foods that have been mentioned above, you will look forward to the next time you will have brunch! They will surely make a hearty and filling meal!

This is a guest post. The author wishes to remain anonymous

Monday, September 17, 2018

A Beginner’s Guide to Making Mouthwatering Cocktails


You do not know how cocktails are done unless you have already visited Regent Cocktail Club, my favorite cocktail lounge in Atlanta. The place is known for their exquisite concoctions using only the finest ingredients that are available, including premium alcohol bases. The recipes are top secrets, of course. However, if you want to make cocktails that will be at par to what the club serves, keep on reading and we’ll share some tips.

Know the Basics

You must first know the rules before you break them. Therefore, you have to initially gain mastery of the basic cocktail recipes before you can make tweaks and ingredient swaps. If you are a novice in cocktail making, stick to the basics. Some of the simplest and easiest drink that you can make include martini, margarita, mojito, Old Fashioned, and gin and tonic, among others.

Invest in the Tools of the Trade

If you visit a rooftop bar in Atlanta and sit next to the bartender, you can see that making a drink requires having the right tools needed. These tools are important for a number of reasons, such as for making sure of using the exact amount of the ingredients that are needed. With this, some of the basics that you must have include jigger, cocktail shaker, strainer, mixing spoon, juicer, and muddler.

Know when to Shake or Stir

Shaken or stirred? This is one of the questions that you have to ask yourself when making a cocktail. Knowing when to shake and when to stir can instantly up your cocktail game and make your drinks taste like they have been mixed by an expert. Generally speaking, you have to shake when the cocktail involves the use of thick or strongly-flavored ingredients such as egg, fruit juice, and dairy. On the other hand, shaking is recommended if you are using only light mixers, such as soda.

Master the Techniques

It is not enough that you know when shaking or stirring is the better option. The right technique will also matter. For instance, when you are shaking the cocktail mixer, you should do it in a circular motion. When it is properly shaken, the edge of the cocktail should be a bit frothy. When stirring, do this carefully to not aerate and dilute the drinks. Otherwise, the flavor will end up weaker. 

Pick the Right Base

If you think that top-shelf cocktails are the best, you are wrong! There are liquors that are made for cocktails. Their flavor is enhanced by your choice of mixer. Premium alcohol brands are too strong and better consumed on their own for you to appreciate its fuller flavor and aroma. For cocktails, especially if you are still in the experimenting stage, it won’t hurt to go for cheaper alternatives.

In sum, you do not need to be an experienced mixologist to create mouthwatering concoctions. Take note of the things that have been mentioned above and you can easily make cocktails like a pro!

This is a guest post. The author wishes to remain anonymous